The system used :
|
|
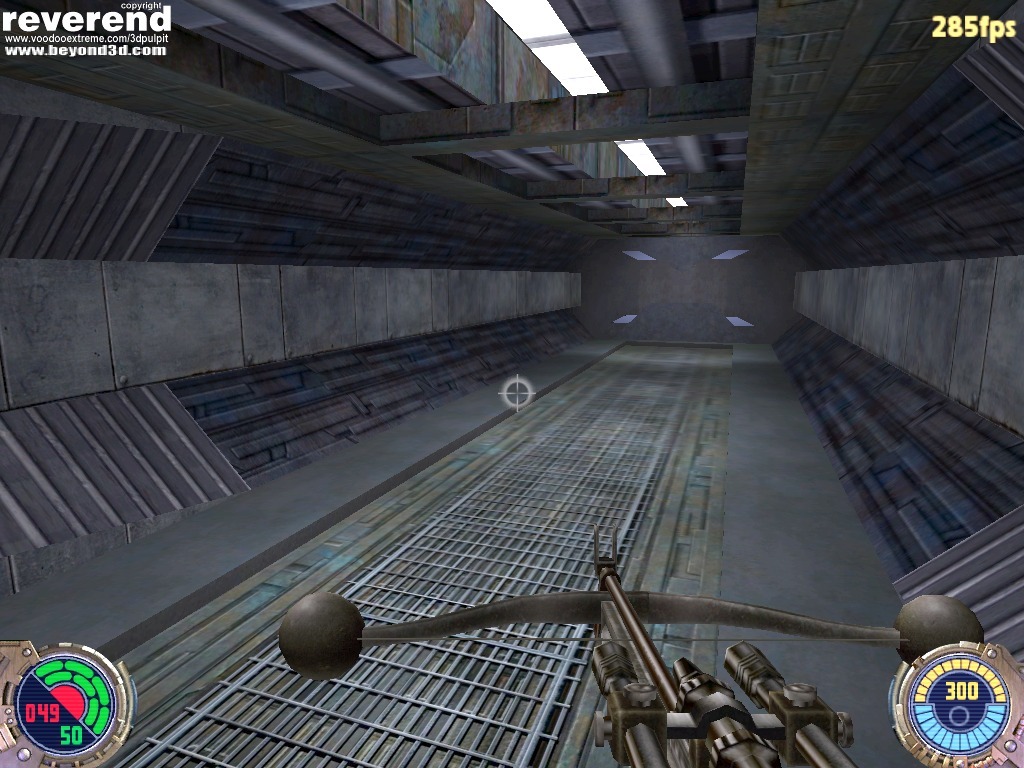
Jedi Knight 2 features an in-game framerate counter - in all screenshots, this is displayed in yellow, top-right. This provides an additional analysis, which is obviously that of performance, in addition to image quality differences. Each link below appears in a new window and contains a 1024x768x32 image that is on average 250kb in size. Every graphics-related option within the game is set to the maximum allowed with the exception that "Simple Shadows" was used instead of stencil shadows (which is classified as "Volumetric Shadows" by the game). All thumbnails link to new pop-up windows :
The "reference" default image - No AA, No Aniso, No LOD Bias adjustment
All images below are grouped by LOD Bias, Anisotropic filtering and AA.
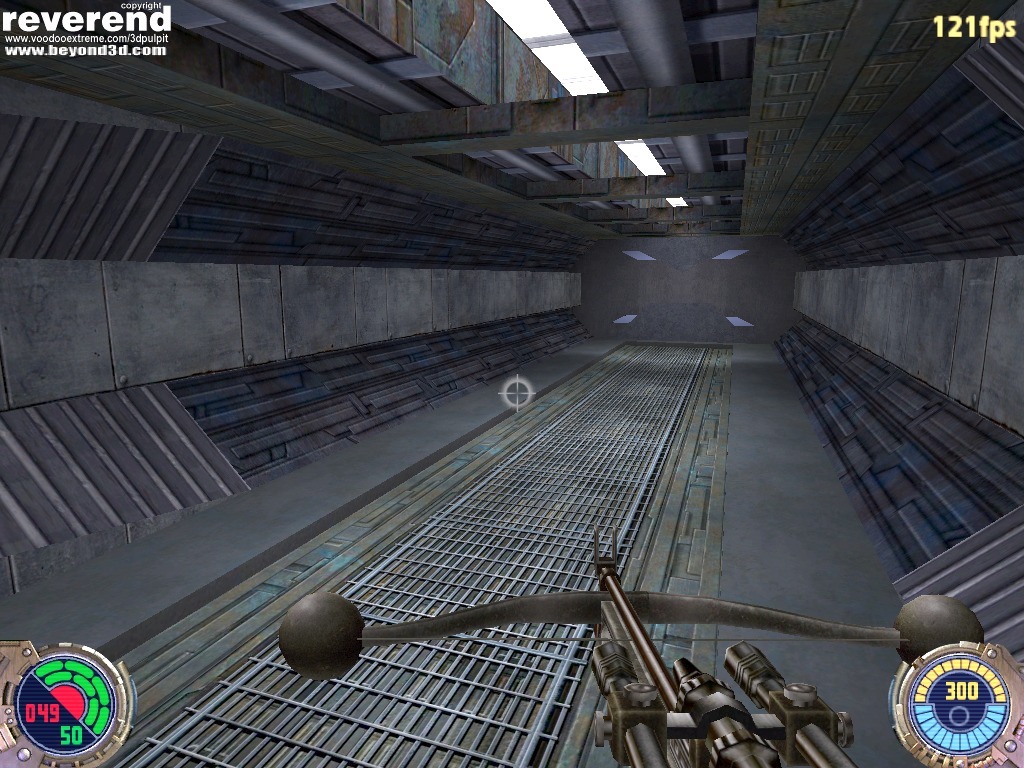
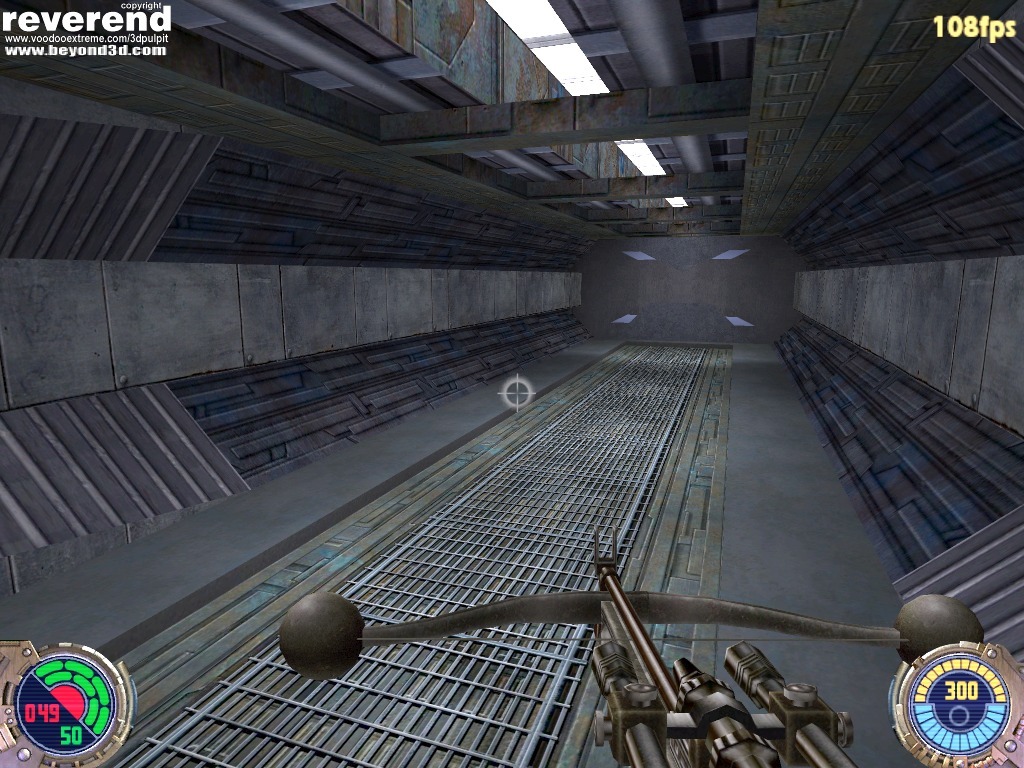
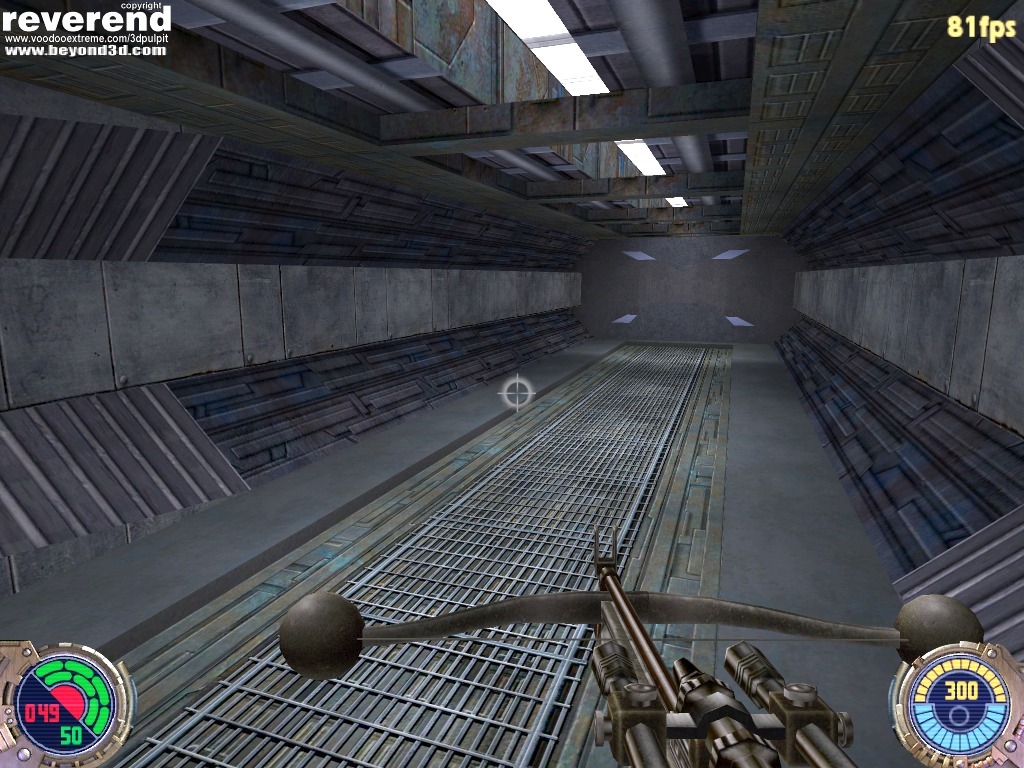
LOD Bias -3
(1) No AA, No Aniso

(2) No AA, 8x Aniso
(3) 4xAA, No Aniso
(4) 4xAA, 8x Aniso
4x Anti-Aliasing
(5) No Aniso, No LOD Bias adjustment

(6) No Aniso, LOD Bias -3
See (3) above
(7) 8x Aniso, No LOD Bias adjustment

(8) 8x Aniso, LOD Bias -3
See (4) above
8x Aniso
(9) No AA, No LOD Bias adjustment
(10) No AA, LOD Bias -3
See (2) above
(11) 4xAA, No LOD Bias adjustment
See (7) above
(12) 4xAA, LOD Bias -3
See (4) above
Yes, I know that the above may be a bit confusing but I have to assume that folks may concentrate on any of the three considerations, which could be AA or Anisotropic Filtering or LOD Bias. I suppose everyone may be more interested in images (4), (8) or (12), all of which are the same. They are all with everything "set to the max" (so to speak), which is with 4xAA, 8x Aniso and LOD Bias of -3. In these three images (i.e. 4, 8 and 12), they look really nice - there is more apparent detail, which is a combination of both 8x Aniso and LOD Bias -3 being used. However, with such an aggressive LOD Bias (-3), what these screenshots probably do not show is the amount of texture aliasing. Even with 4x AA and 8x Aniso, a LOD Bias of -3 resulted in noticeable texture aliasing. Here's a breakdown of my observations while having the most aggressive LOD Bias seting (-3) :
(A) 4xAA, 8x Aniso, LOD Bias -3 (i.e. "Max settings")
Noticeable texture aliasing. Texture aliasing occurs "further in the distance" due to 8x Aniso being applied.
(B) No AA, 8x Aniso, LOD Bias -3
Slightly more texture aliasing than the (A) above but is primarily due to it occurring nearer to the player and hence occupies more of the screen display. AA helps further (in conjunction with 8x Aniso) to reduce texture aliasing.
(C) 4xAA, No Aniso, LOD Bias -3
Very noticeable texture aliasing, more than (B) above, which means more than (A).
If my observations are anything to go by, it appears that reducing texture aliasing as an artifact caused by aggressive LOD Biases would be best addressed by ever higher levels of anisotropic filtering rather than ever higher levels of multi-sample anti-aliasing as per NVIDIA's GeForce4 Ti4600 (which does reduces aliasing but to a very slight degree). However, it is also likely that super-sample anti-aliasing would reduce texture aliasing but with super-sampling involving even higher fillrate and bandwidth demands, performance may suffer too much to make any image quality improvements matter at all.
Perhaps the "best" LOD Bias may be -1.5 as this will still result in "extra detail" while texture aliasing is quite a bit reduced compared to LOD Bias -3. Personally, I could live with it when used with 4xAA and 8x anisotropic filtering and yes, texture aliasing is still there. Here's how LOD Bias -1.5, 4xAA and 8x aniso looks like :

What is Texture Aliasing?
Now, some folks may be quite familiar with what "jaggies" mean when it comes to aliasing - very simply, it is "edge aliasing", that is, most folks will definitely see jagged edges when you know it should be a straight line. It is my belief, however, that many (still) do not know what "texture aliasing" may mean, as opposed "edge aliasing", which is usually more easily noticed. Texture aliasing is a little bit more difficult to explain than the obvious jagged edges. While I may explain it using phrases like "swimming pixels" or "noise" or "details on a wall that moves as your point of view changes", it may not be that easy to comprehend. To the informed, it is usually noticeable in screenshots - to others, it almost impossible to notice in screenshots. Texture aliasing is most noticeable as an artifact when the point-of-view changes (for example, as you pan or look around) I will therefore attempt to show what "texture aliasing" is via a Java applet. What I did was to take a series of screenshots in Jedi Knight 2 in the position as depicted in all the above screenshots while panning to the right slightly and then back again to the original point. The series of screenshot captures while panning is achieved via a particular Q3-engine (of which Jedi Knight 2 uses) console command. Using this Java applet, it is then possible to combine all these screenshots (which are in sequential numbers) into an animation viewable on a web page.
The web page in question uses JPEG screenshots of 640x480x32bits with every other graphical option remaining the same as per all the 1024x768x32bits screenshots above. I had to choose 640x480 simply to cut down on bandwidth and loading time of the complete web page. While it is recommended that you temporarily set your desktop to no more than 800x600 for maximum effect, higher resolution desktops will still show the texture aliasing artifacts but the degree of which will be subjective. As with all Java applets, it is CPU intensive.
To view this Java web page, you will need to have "Java Virtual Machine" installed on your operating system. If you should see a message window informing you to download this, that means you don't have it and you must download and install it before you can see the Java animation. Should you need to download it, it is about 5MB.
Before I show you the web page in question, I should probably tell you what to look out for when it comes to texture aliasing :
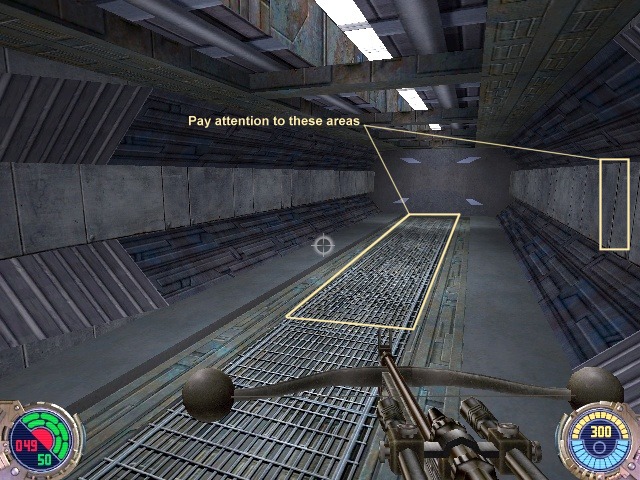
Notice the grating on the floor first and foremost - you will see it "move". That's texture aliasing. Look at all other textures in the animation - they do not "move". The grating on the floor, while the point-of-view changes, shows what can probably be best described as "noise". Note that this artifact is very slightly cured by using 4x Multi-Sampling Anti-Aliasing on the GeForce4 Ti4600 (since this will anti-alias the edges of the gratings) but it is cured to a higher degree with 8x anisotropic filtering.
Let's actually look at the Java web page then : Texture Aliasing Java Animation Web Page
Hopefully, with my explanation and with the help of the Java applet, texture aliasing as caused by aggressive LOD Biases is more easily understood.
It is also the nature of this article to show that while aggressive LOD Biases may/will result in images that are apparently more detailed, the artifacts introduced can be cured by a combination of higher levels of both anti-aliasing as well as anisotropic filtering.
The "danger" of all too aggressive a LOD Bias, even if its resultant texture aliasing is cured by AA and/or anisotropic filtering, is whether the image quality is "too detailed" compared to real life. Beyond a certain distance, things do get blurry!
|
|